How to build your OAuth2 Google in a few minutes ? | Ideta
What’s a Rich Text element?
The rich text element allows you to create and format headings, paragraphs, blockquotes, images, and video all in one place instead of having to add and format them individually. Just double-click and easily create content.
Static and dynamic content editing
A rich text element can be used with static or dynamic content. For static content, just drop it into any page and begin editing. For dynamic content, add a rich text field to any collection and then connect a rich text element to that field in the settings panel. Voila!
How to customize formatting for each rich text
Headings, paragraphs, blockquotes, figures, images, and figure captions can all be styled after a class is added to the rich text element using the "When inside of" nested selector system.
Introduction
Google is one of the most popular search engines of our age. Since its inception, it has improved its services and brought all kinds of innovative technologies to the market. Some of the most popular Google services include Google Drive, Google Cloud, Google Maps, and more. If you want to use the many services that Google offers, you must use OAuth2 Google.
With it, you can interact with Google services in your customers' names. But what does this mean? What is OAuth2 Google? How does it work? How can you build your own? Do you have to know how to code to build it?
We will answer all of those questions and more in this article. After reading it, you will learn how to build your OAuth2 Google, what it is used for, how it works, and more. So, without further ado, let's dig in!
What Is Google OAuth2 ?
OAuth stands for "Open Authorization". It is an authorization framework that allows an app or site to access a user's account information without revealing the user's credentials.
To put it in simpler terms, with OAuth2, software providers or apps (like Ideta, for example) can obtain limited access to user accounts on Facebook, Google, Twitter, Digital Ocean, etc. So, with it, apps can access their users’ data on third-party services.
Google OAuth2 is about letting third parties getting access to users' data owned by Google.
This proicess, even though it grants access to a user's account, it also restricts which actions an app can perform on behalf of the user. So, it does not give apps free reign over a user's account. Instead, it gives them just enough access for them to be able to function properly.
Apps and sites can obtain the authorization they need by getting an access token from OAuth2. The process of getting that token is called "an authorization flow". Google OAuth2 provides authorization flows for mobile devices and web and desktop apps.
How Does It Work?
We will show you how you can build your own OAuth2 Google below. However, before we do that, let's see how the framework actually works.
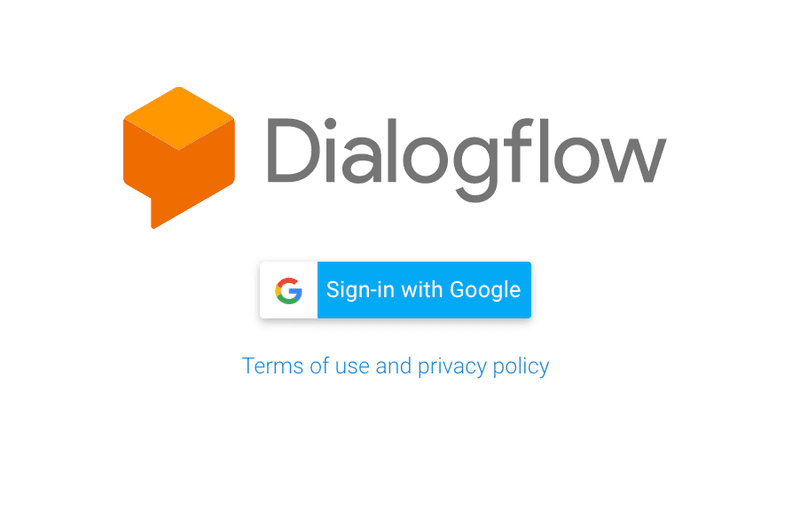
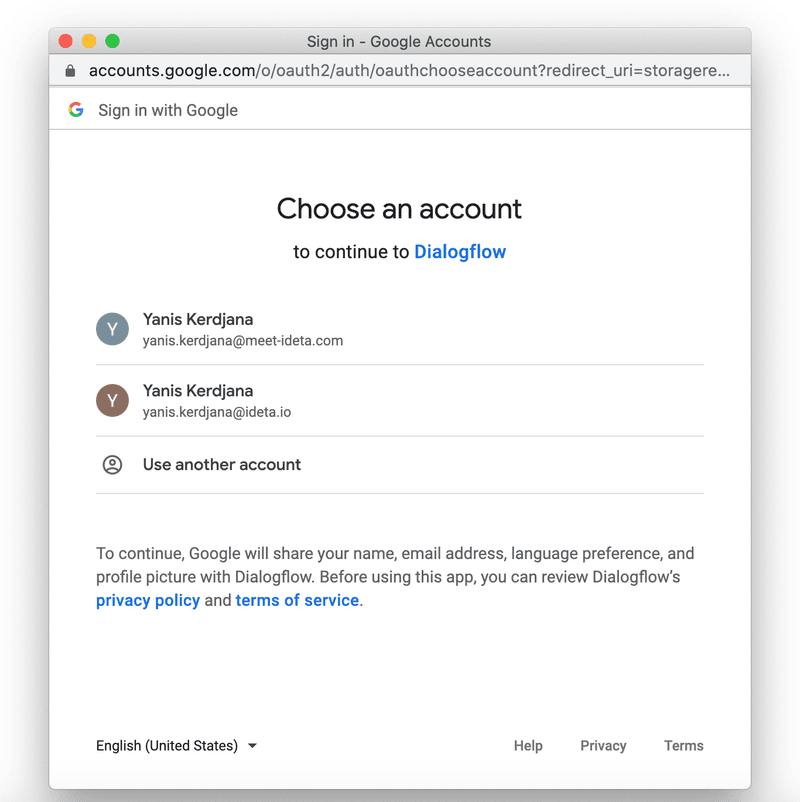
You have used this Oauth2 Google very often as a user. For example, the “Sign-in with Google” button.
You have already selected your account.
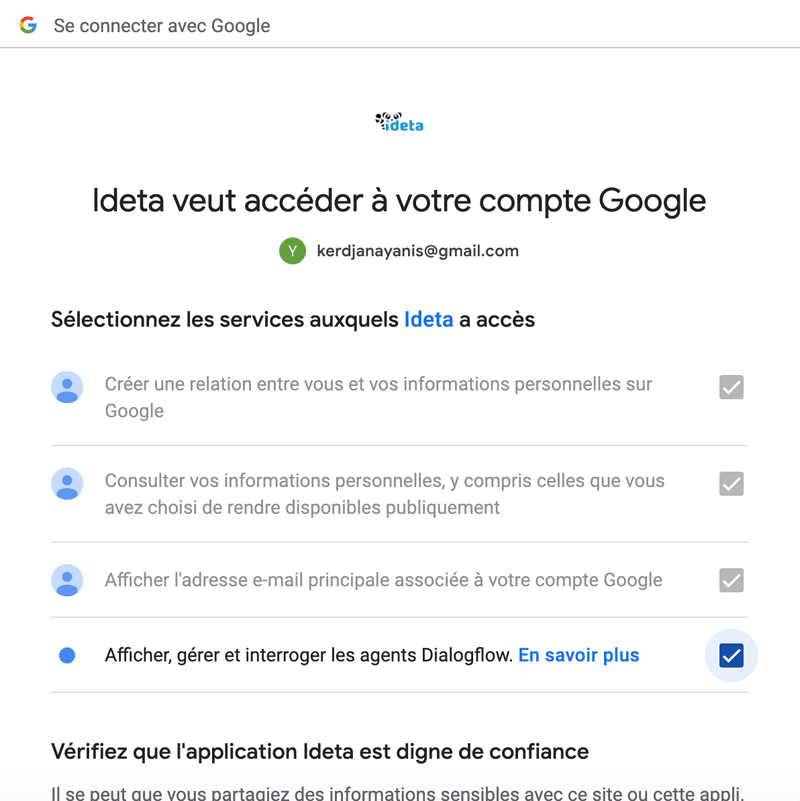
and selected the authorizations you want to give to third parties.
Building this whole process can be done in a few minutes with no code.
Step 1 : Get a redirect URI
- Google will need a redirect URL to send the connection data.
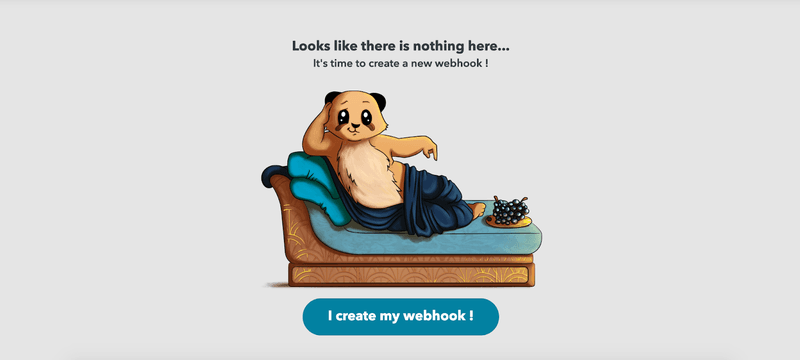
- To create this URL, you can create an account for free on the Ideta App .
- Then click on “I create my webhook”:
- Then rename your webhook to your convenience to find it more easily later :

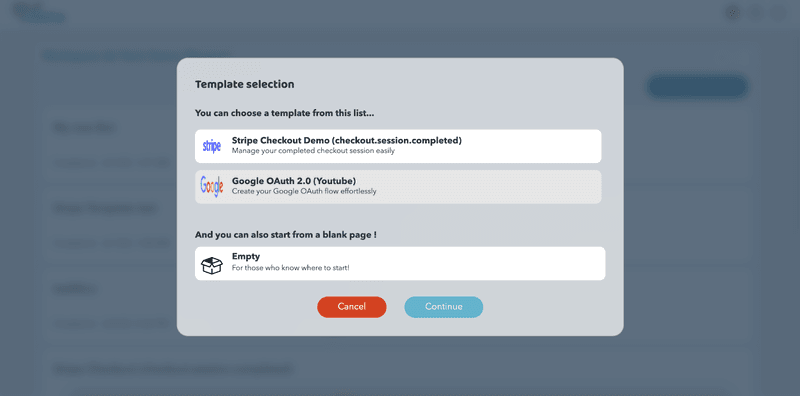
- Then select the “Google OAuth 2.0 (Youtube)” template that is already setup to make starting up easier. Then click “Continue”.
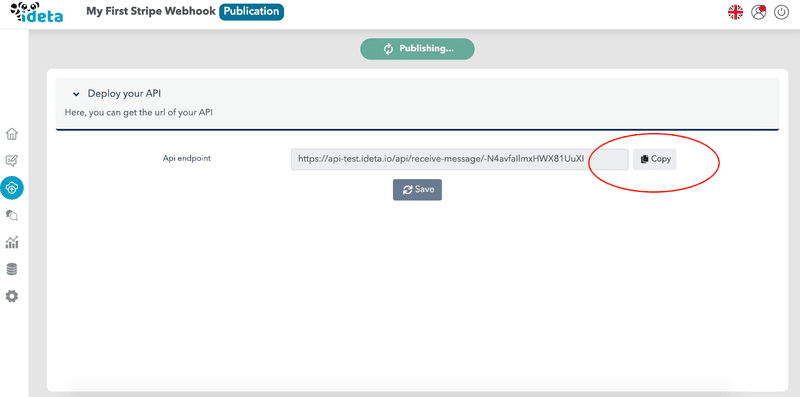
- As your first webhook is created automatically, you can copy the URI. This is the redirect URL you will need in Step 3.
Step 2 : Create an application in Google Cloud Console.
In order for you to get your application credentials, you will need to login to Google Cloud :
- Create a new project :
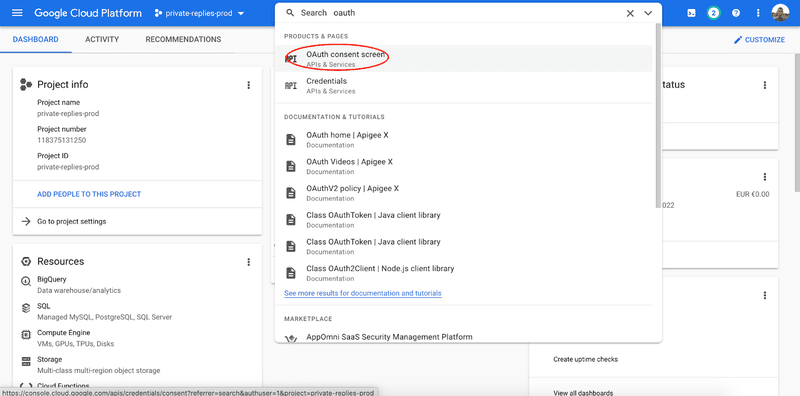
- Once created, search for OAuth Credentials :
- Give the information required by Google. You can change it later. Make sure to add at least yourself as a “Test User” or it will not work.
- Then, go to Credentials :

- and create new Credentials for OAuth:

- Make sure to register the redirect URL you got from Step 1 in Authorized redirect URIs :


- Be sure to save the info provided (client id and secret) somewhere safe. You will need them in Step 3.
Step 3 : Connect Google to Ideta
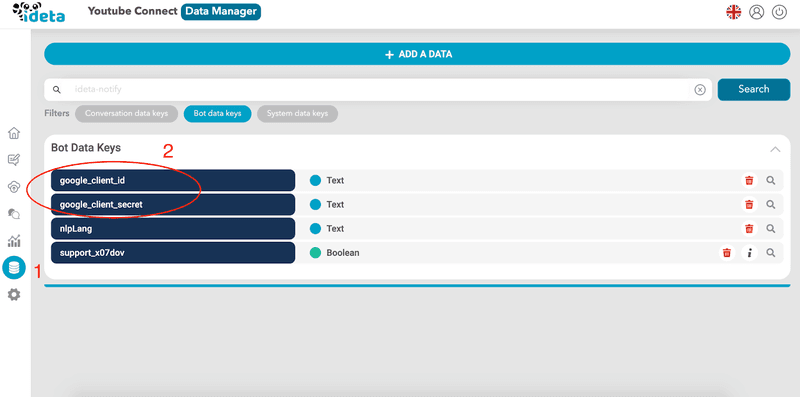
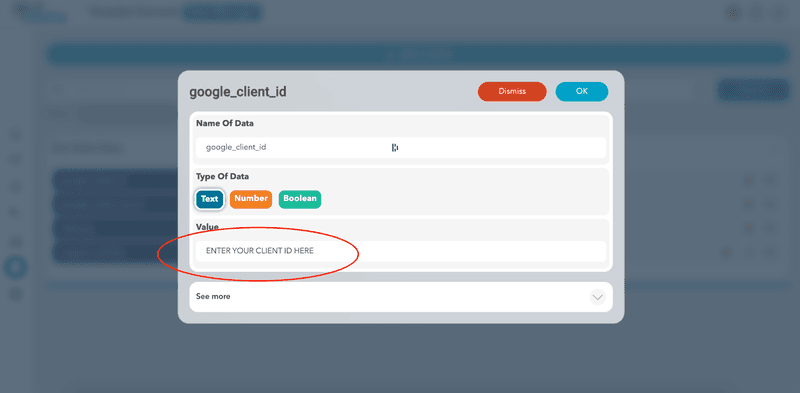
- Now, you just need to copy the data you got from Step 2.
- Now copy the redirect URL you got from Step 1 in the redirect_url variable

- That’s it !
Step 4 : Create the OAuth Link
- The OAuth link is the link users will click on to start the Google Oauth flow.
- The official documentation can be found here in this documentation:
- Here is the link 👇: (not working, it is just for you to have the structure)
https://accounts.google.com/o/oauth2/v2/auth?client_id=CLIENT_ID_FROM_STEP_2&
redirect_uri=REDIRECT_URL_FROM_STEP_1&
scope=https://www.googleapis.com/auth/youtube&
access_type=offline&
state=CUSTOMER_ID_IN_YOUR_OWN_SYSTEM&
include_granted_scopes=true&
response_type=code
In order to use it, replace the variables in UPPERCASE with your own and put everything in only one line.
- The whole list of available scopes can be found in the Oauth protocols documentation.
- You can ask for multiple scopes. A space must separate them.
Step 5 : Use the data
- Now, after clicking on the link from step 3 and going through the whole OAuth2 Google process, you can go to the History Section of your webhook created in Step 1.

- The access token you will need to perform API calls will be available for further use. The first time you connect, you will also get a refresh token.
- The refresh token will be useful when the access token expires. Make sure to store it safely in order to use it later.
Here is the official documentation.
Do not hesitate to contact us if you need help setting it up.
What Is It Used For?
With OAuth2 Google, apps can obtain information from end users. However, the users' usernames, passwords, and other similar information remain private.
For example, you can use OAuth2 Google to get permission from users to share files in their Google Drives. Another use case is allowing users to log in to your application via their Google login.
Other use cases include:
- Reading a user's data from a Google Sheet;
- Giving your users the ability to select what they give access to;
All of that and more is done without sharing the users' private information. So, by using OAuth2 Google, not only will you be able to obtain the information you need from your users, but you will also instill trust in their minds because you won't collect their private information.
OAuth2 Google Roles
There are four OAuth2 roles:
- Client – The client is the application that needs access to a user's account. The user must authorize the client to get access to a user's account, and the API must validate the authorization.
- Resource Owner – The resource owner is the user whose account an app wants to access.
- Resource Server – This is the server that hosts the protected user accounts.
- Authorization Server – This server verifies the user's identity and issues Access Tokens to the app.
OAuth2 Google Scopes
Scopes are an essential concept in OAuth2 Google. You can use them to specify the reason why you should get access to certain resources (user account information). Also, the scopes provide a way to restrict the access that you get to user accounts.
You can request one or more scopes. After you put in your request, the user will receive it in the consent screen. Then, they can decide which scopes you can access by selecting them on the screen.
Some types of scopes include:
- Read – which allows you (the app) to read the full information about a user or other resource;
- Write – this scope allows you (the app) to modify a resource (delete, create, edit);
- History – which allows you (the app) to access messages and other similar content;
You can find the full list of OAuth2 Google scopes here.
Grant Types in OAuth2 Google
OAuth2 Google grants are methods for an app to get an Access Token. You can use the following grants to get an Access Token:
- Authorization Code – this is the most common grant type. It is optimized for server-side applications. An example of an authorized code grant is when people use their Google or Facebook accounts to sign into another app. Your app must be capable of interacting with the user's web browser to use this grant.
- Implicit Grant – this type of grant is meant for single-page web applications. For this grant, the Authorization server returns an Access Token instead of an Authorization Code.
- Resource Owner Credentials – this grant allows resource owners (users) to give their user names and passwords to trusted apps. So, with this grant, apps can request a user's username and password.
- Client Credentials – this is the simplest out of all Oauth2 Google grants. It allows an application to access its own service account and is suitable for situations where a specific user's data access permission is not needed. This grant is useful for apps that want to update their redirect URI or registered description. Also, you can use it to access other data stored in your service account.
- Refresh Token Grant – refresh tokens allow apps to get a new Access Token after the old one expires. Also, the app won't have to redirect the user again to get a new Access Token.
Video demo
I invite you to check the video below that shows how how to implement OAuth2 Google (and others) :
Latest News