How to build Stripe Webhooks with no code ? | Ideta
What’s a Rich Text element?
The rich text element allows you to create and format headings, paragraphs, blockquotes, images, and video all in one place instead of having to add and format them individually. Just double-click and easily create content.
Static and dynamic content editing
A rich text element can be used with static or dynamic content. For static content, just drop it into any page and begin editing. For dynamic content, add a rich text field to any collection and then connect a rich text element to that field in the settings panel. Voila!
How to customize formatting for each rich text
Headings, paragraphs, blockquotes, figures, images, and figure captions can all be styled after a class is added to the rich text element using the "When inside of" nested selector system.
Introduction
You have been using Stripe to process your payments and you got customers to buy from your website. Great news !
Usually, when that happens, it is time for you to do something in return. You either have to send something to them or activate a product.
For security reasons, you cannot trust what happens on your customer’s browser. If you do, you’ll end up sending free stuff ;-)
That’s why Stripe created Stripe webhooks as you can see on this video tutorial.
Put simply, a webhook is a server where Stripe sends you important information as they happen. You can see it as the Push Notification from your apps but for applications.
Stripe notifies your webhooks as events happen.
For example, if a payment succeeded, it will send you the information so that you can act on it.
Indeed, you may want to send your customer an email for payment confirmation and additional information about delivery or next steps.
Why should I use no code for Stripe webhooks?
Managing Stripe webhooks is not the most complex coding tasks.

Stripe does a great job at guiding you through the steps required to code your webhooks.
But why do it ? Why use expensive and rare resources (developers) when there is a tool that does that just fine in a few minutes ?
Your call ;-) !
Anyway, we’ll show you how to set up your Stripe Webhooks with no code. Most steps remain available if you are coding.
Step 1 : Get a webhook URL
Stripe will require such a webhook where to send events at some point. For clarity, we’ll get it first.
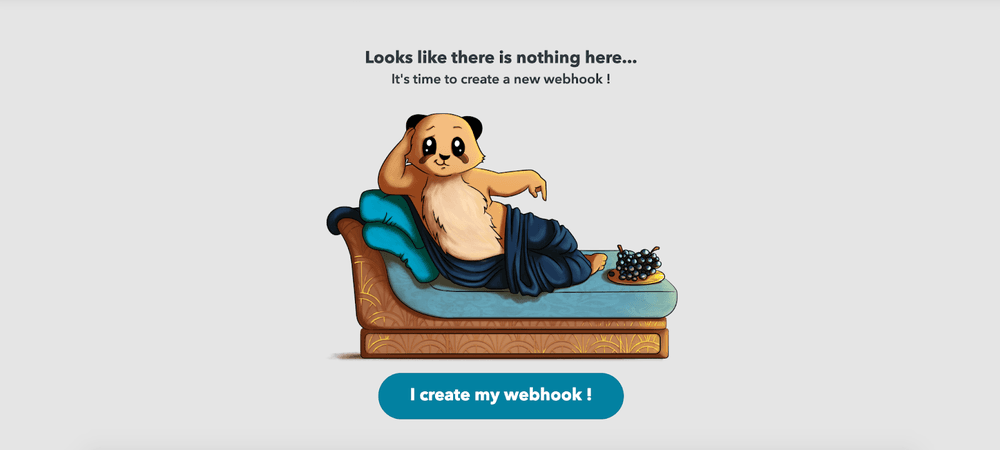
- You can create an account for free on the Ideta app.
- Then click “I create my webhook”:
- After that, rename your webhook to your convenience to find it more easily later :
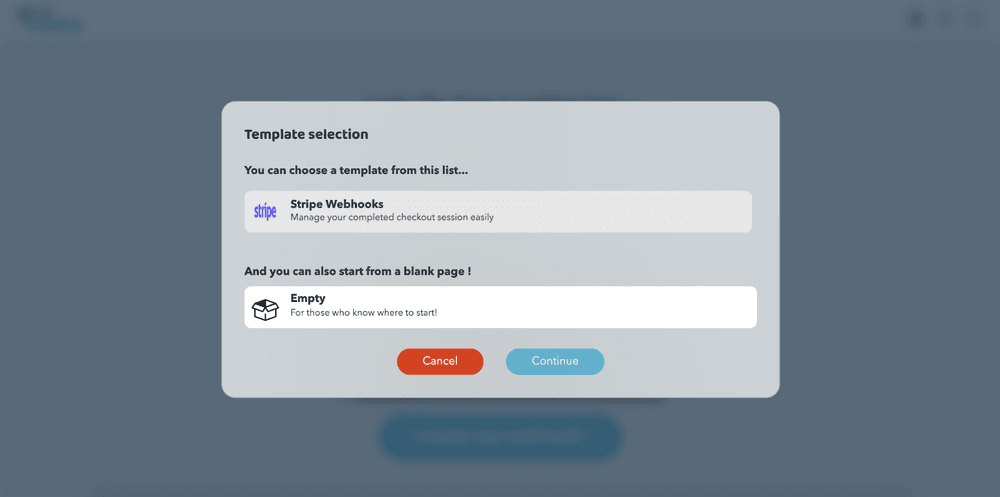
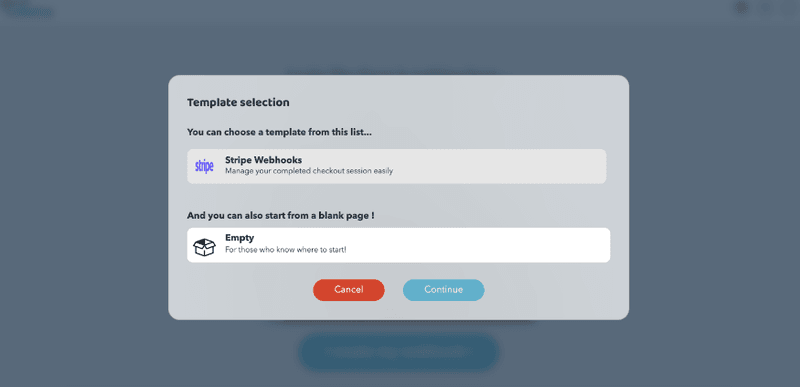
- Now select the “Stripe Webhooks” template that is already setup to make starting up more easy. Then click “Continue”.
- As you do, your first webhook will be created automatically and you just have to copy it :
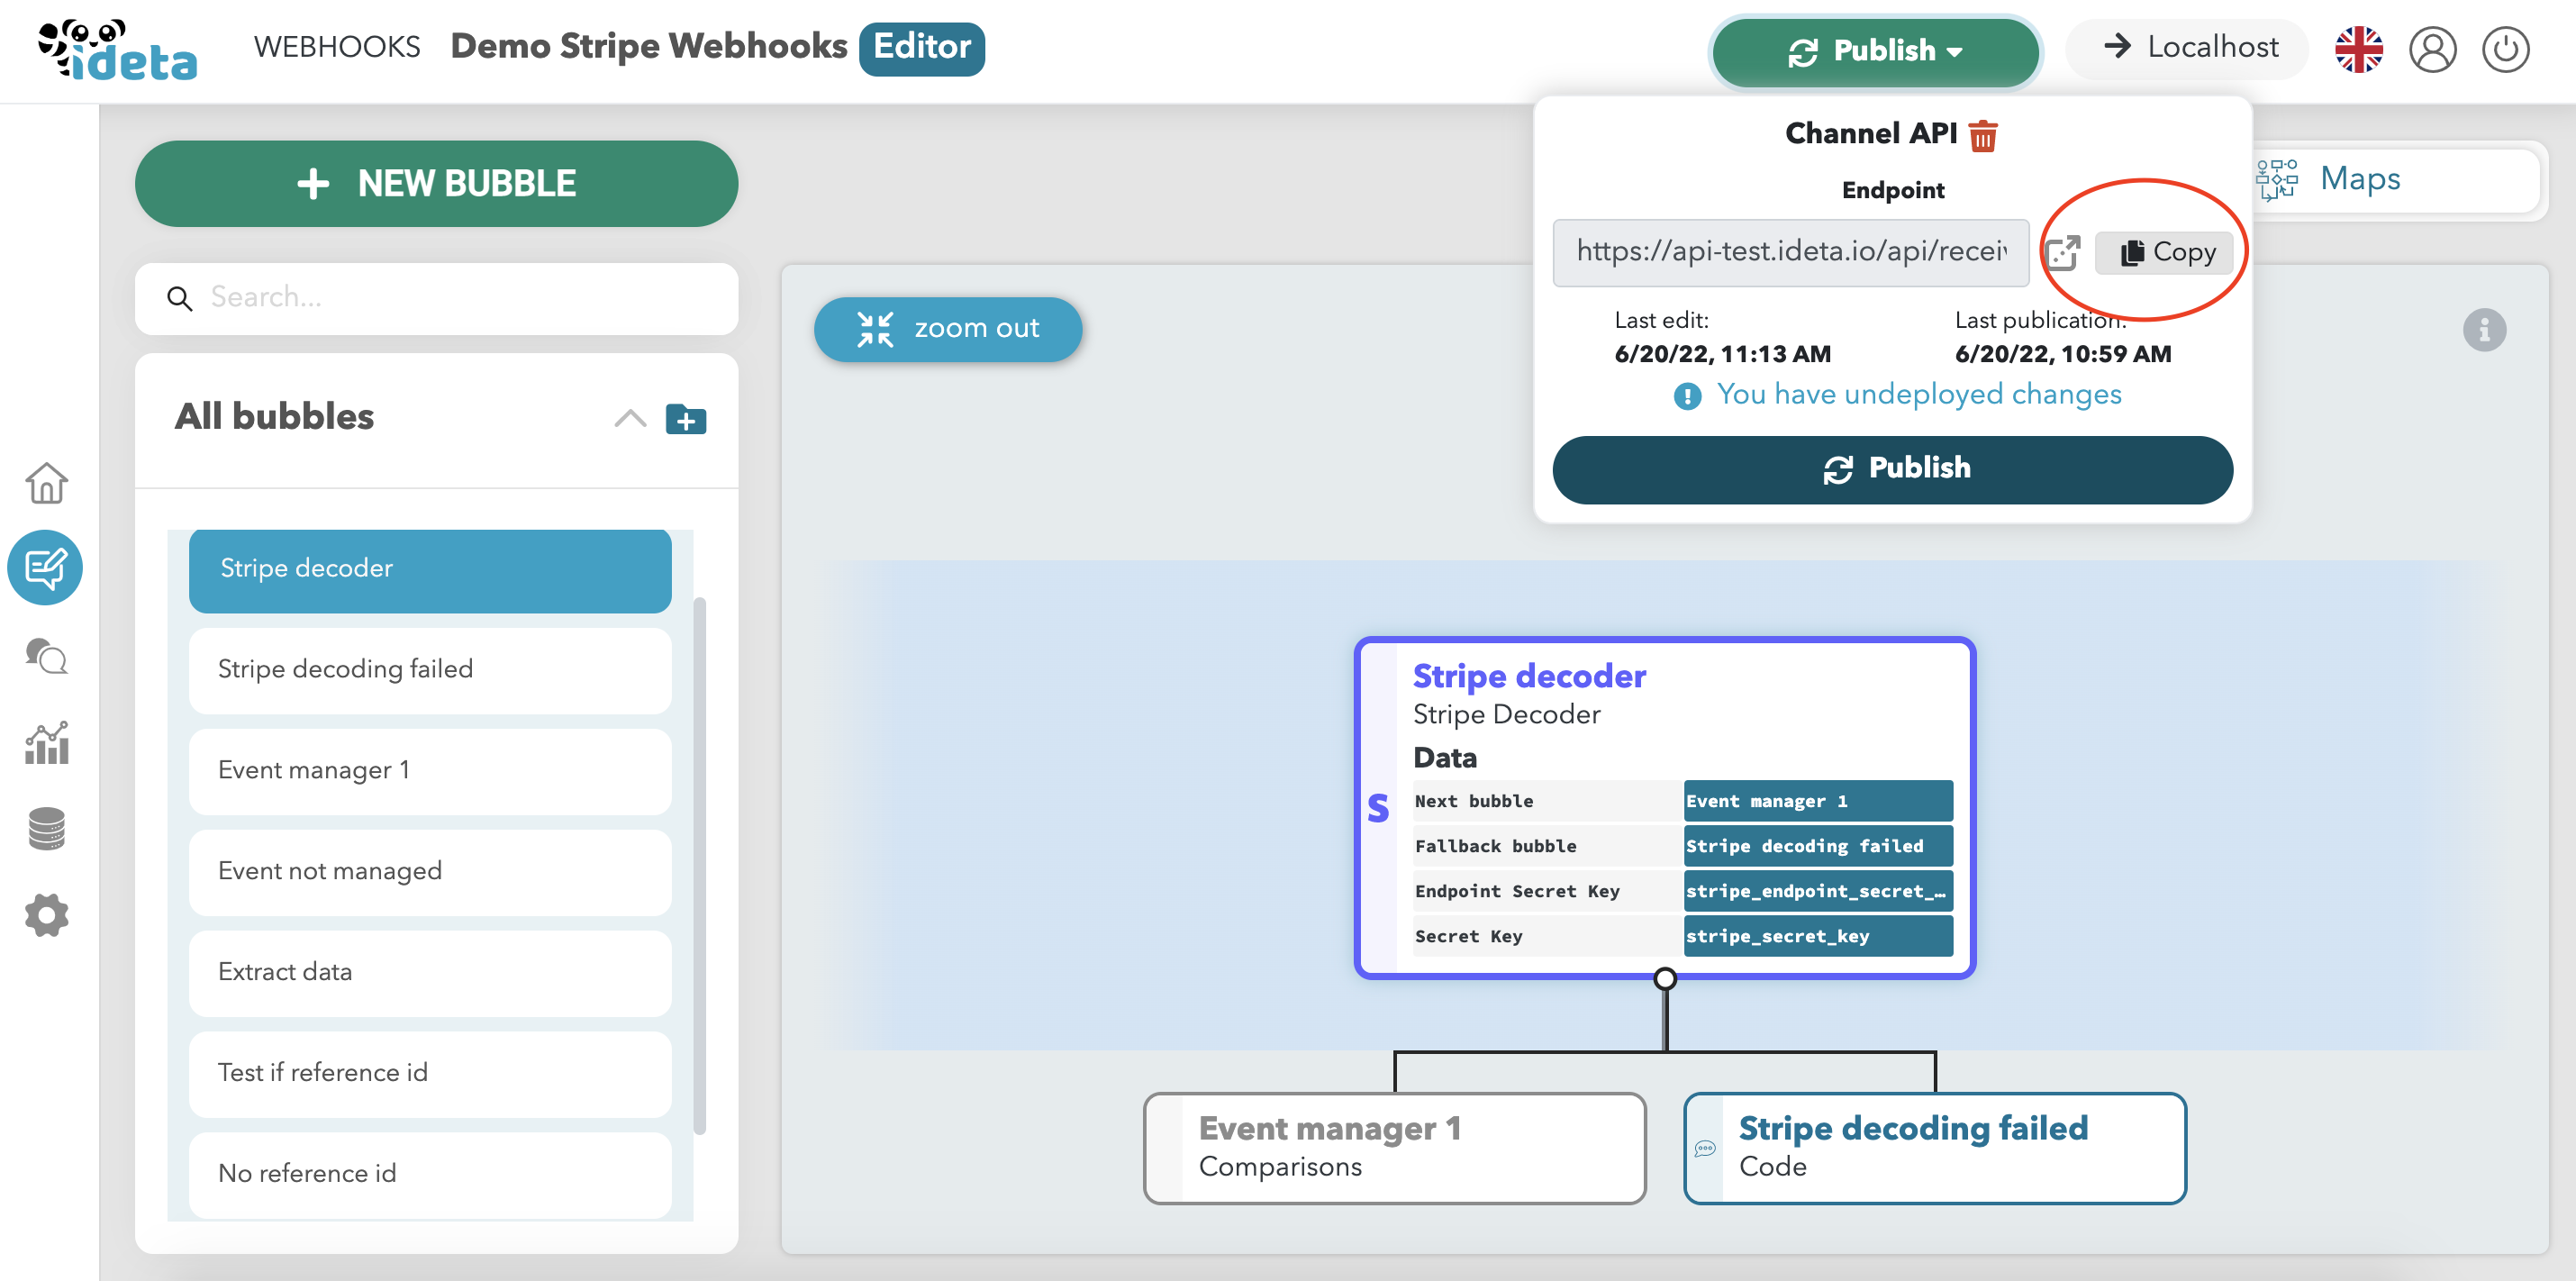
- That’s it ! You have successfully set up a programmable webhook URL in less than 2 minutes with 0 code.
Step 2 : Set up everything in Stripe
Stripe does things greatly as they offer a full test environment that works exactly like the live one.
We will use that in that tutorial.
- Go to the dedicated section on the Stripe website or follow the steps in the image below.
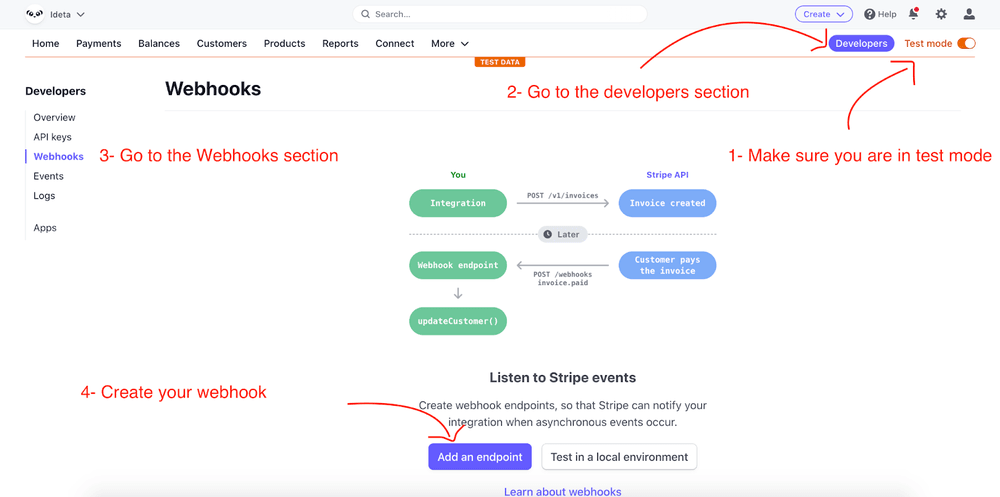
- You can paste the webhook URL you got from step 1 :
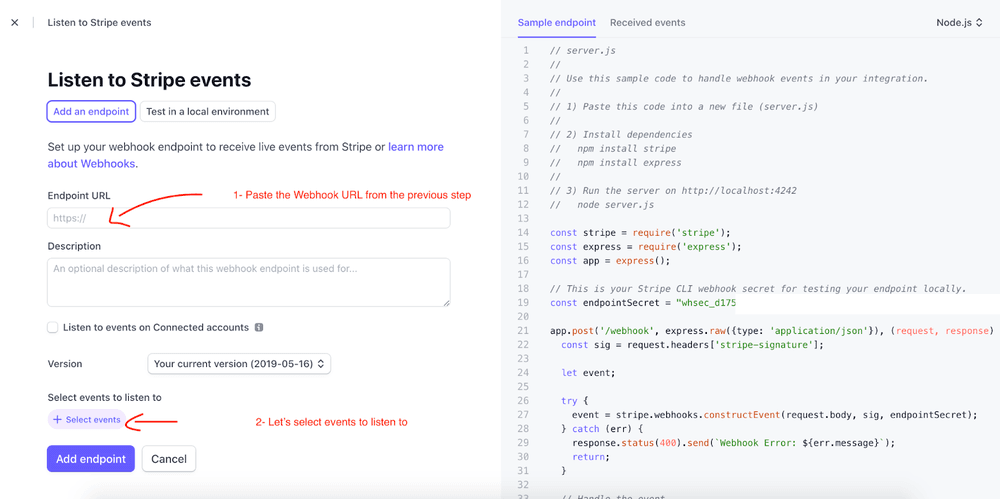
- For this tutorial, select checkout.session.completed in the Checkout section. For your own use cases later, you can select the ones you are interested in.
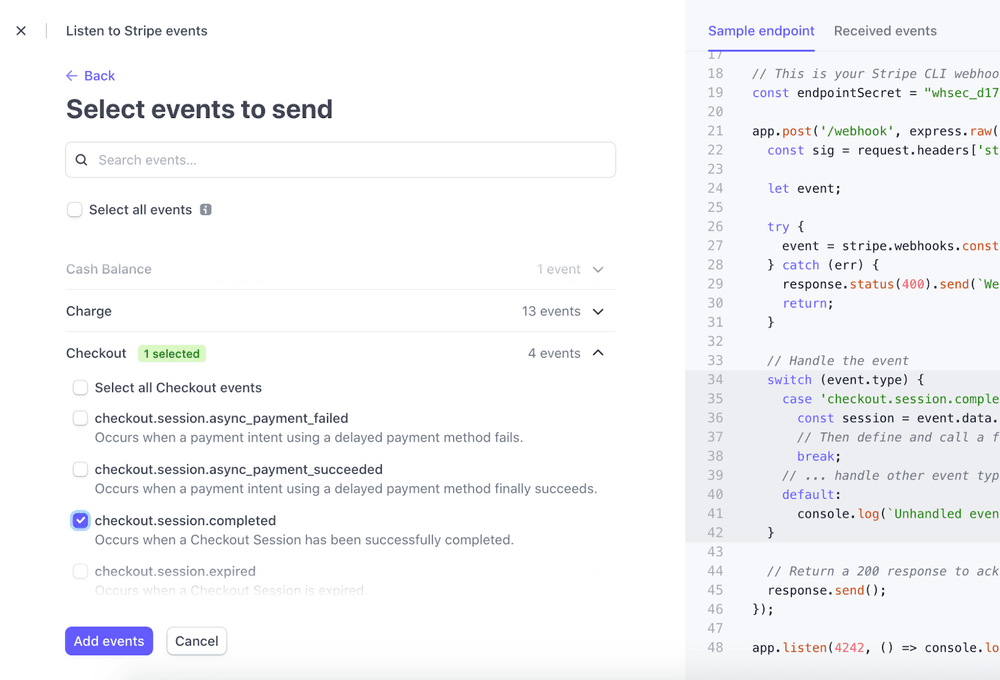
- Then click “Add events” and “Add endpoint”.
- Now you’ll need to copy the Signing secret and copy it :

- As well as your Stripe Secret Key https://dashboard.stripe.com/test/apikeys
Step 3 : Connecting your Ideta Webhooks with Stripe
- Now, you just need to copy paste these two informations in the Integrations section of your webhook.

- Publish your chatbot and that’s it ! Stripe is connected to your no code webhook.
Step 4 : Testing
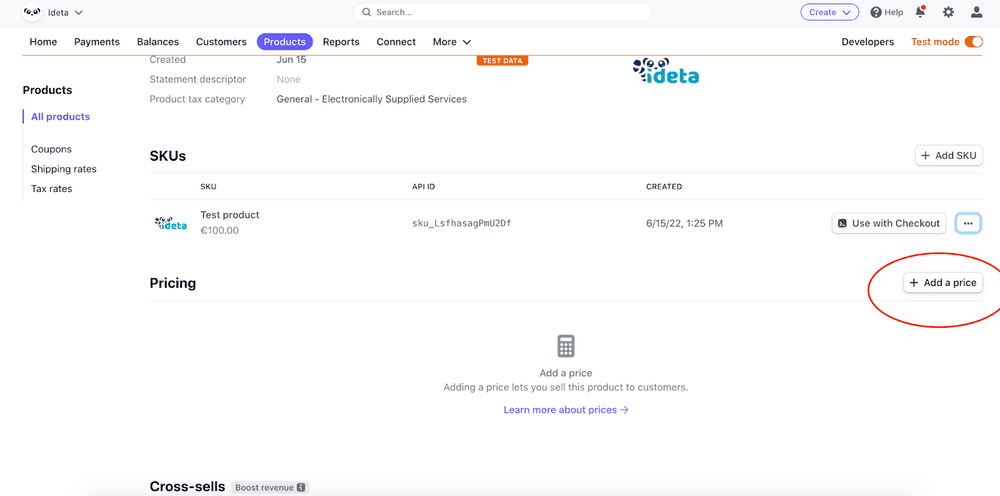
- You’ll need to create a product.
- And add a price :
- Then create a payment link :

- Now copy it in your browser and add
“?client_reference_id=customer_id_for_example”
at the end. With Stripe Checkout, that will allow you to link your payment to your customer.
- Then, trigger a payment with credit card number 4242 4242 4242 4242, an expiration date in the future and any CVC.
- Submit payment.
You’ll see a new line appear in the History section.
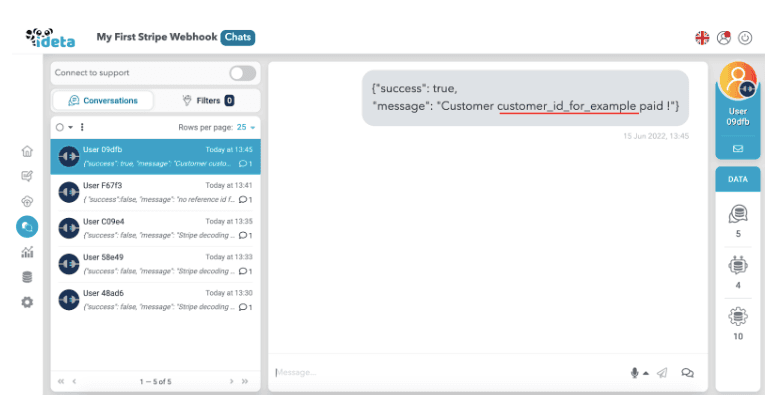
That’s it. It works. (If it does not, check Troubleshooting at the bottom of the page).
Now you can build on top of that. Check our other Integrations (such as Firebase Realtime Database or Firestore) as well as our API bubbles to customize the process to your needs.
Do not hesitate to contact us support@ideta.io if you have any questions.
Step 5 : Understand the process
We created a video to explain to you how it all works and link to the Stripe Documentation.
Check it out on Youtube.
Step 6 : Adapting the process
We created another video to tour the product so that you can adapt the process to your needs.
Check it out on Youtube.
Troubleshooting :
1-
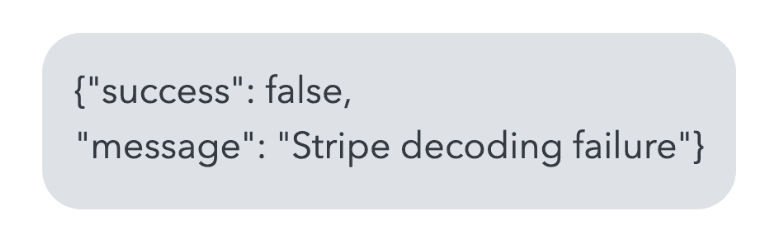
You should check the credentials you put in the Integrations section.
2-
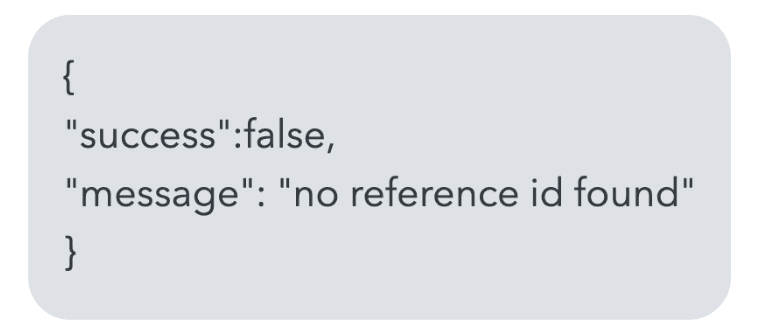
You forgot to add:
“?client_reference_id=customer_id_for_example”
at the end of your Stripe payment link.
Demo Video
If you wish to have a visual explanation on how to set up Stripe webhooks in your chatbot, you can check this step-by-step video tutorial.
Latest News